
Helpful tips to get the most out of your Festool Domino joiner.
Getting Started: Domino
The Festool Domino joiner has become a staple in many workshops around the world. The Domino joiner from Festool is a precision mortise making machine. Of course, it’s not just about the Domino itself, it’s about the greater system, which includes, the Domino Cutters, the Domino tenons, and an expansive set of accessories. The videos below will help you better understand and implement the Festool Domino Joiner into your workshop.
Here is what Festool USA has to say about the Domino:
“Joining has always been a slow, difficult process. Never again, thanks to the Festool DOMINO joining system. The system consists of the DOMINO joiner and pre-fabricated, beech and sipo DOMINO tenons. The DOMINO joiner, with its revolutionary cutting method, simple indexing features and adjustable mortise sizing, makes flawless mortises every single time. The DOMINO tenon is equally as impressive - it is 100% rotation-proof and far stronger than either biscuits or dowels. It also has a large gluing surface area for extra strength.“
To help you get started, we’ve added helpful videos and walkthroughs for the Festool Domino below. If you have any questions about the Festool Domino joiner, send us a message on Instagram, or an email.
The Four Laws of the Domino
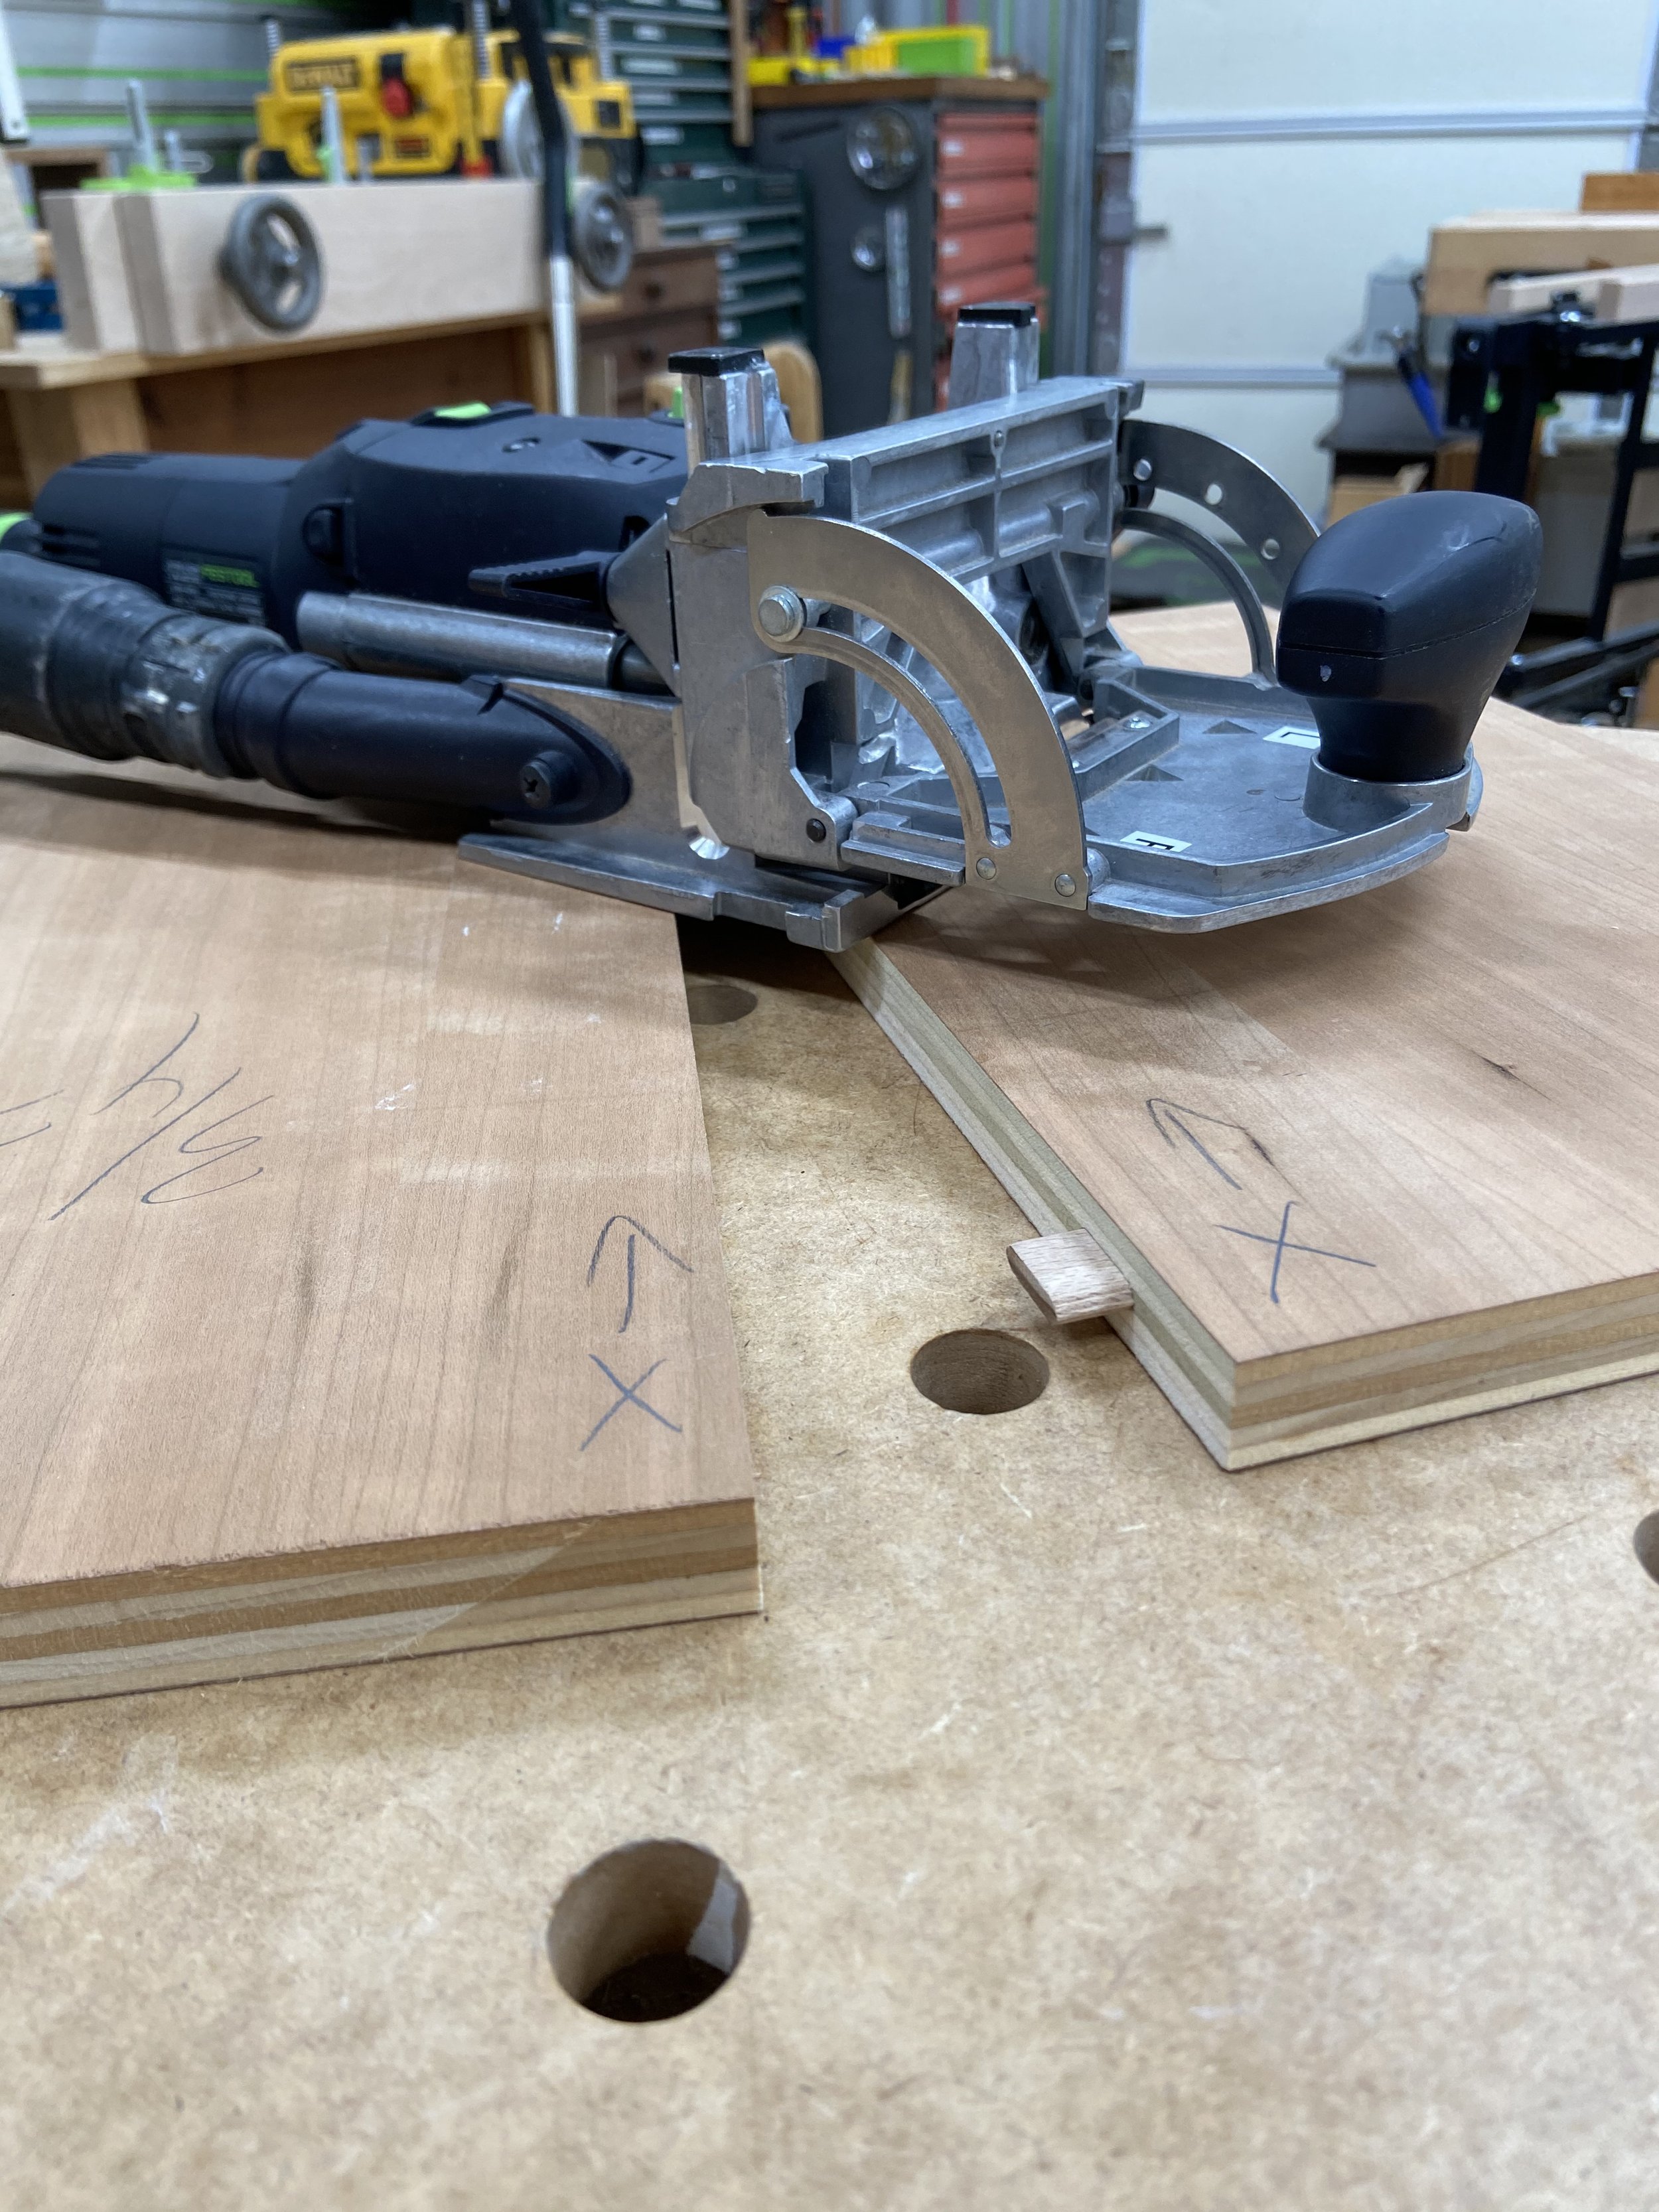
First Domino Law
The best place to start with the Festool Domino joiner is with the basics, or as Sedge calls them, the four laws of the Domino. The first law of the Festool Domino is, always reference the same face. Referencing the same face ensures your Dominos are set at the same height saving you time and frustration, ensuring a perfect joint.

Second Domino Law
The second load of the Festool Domino is, always reference the plate to ensure your Dominos are set at the right height. You may need to work off the table to make this happen. This ensures your reference is the plate (which is set to the correct height) and not the base of the Domino.

Third Domino Law
The third law of the Festool Domino to plunge inline. This will help avoid climb cuts and ensures you are relying on the accuracy of the Domino, and getting the best possible mortise for your joint.

Fourth Domino Law
The fourth law of the Festool Domino is one of the most important, plunge at a steady rate. Avoid plunging too fast. This helps avoid “chattah” (chatter) and lose glue-line due to the Domino tenon not fitting snug in the mortise. Slow down and let the Domino do the work!

If you’d like to see the four laws of the Domino in action, watch the video below!
The four laws of the Domino Joiner. Definitely watch this one if you just bought a Festool Domino. This video is full of great tips and tricks for your Domino.
The Top 4 Domino Joints
Here you will find a quick rundown of the top four joints created using the Domino joiner. Sedge walks us through the setup and execution of all four joints in the video below. All four of the joints reference and use the four laws of the Domino. Here are the top four joints!
Domino Joint Number 1: Miter Joint
The miter joint is one that can be tricky. Sedge walks us through the miter joint start to finish and shows some tips and tricks along the way. Follow along and you’ll be on the right track in no time!

Domino Joint Number 2: Bevel Joint
Bevel joints are great for building boxes, but sometimes it can get a little complicated. Sedge walks us through the bevel joint start to finish and shows some tips and tricks along the way. Follow along and you’ll be building bevel boxes in no time. Don’t forget to use you pencil and mark your material to have better reference!

Domino Joint Number 3: Butt Joint
The butt joint is a very common joint, and is used in building boxes or cabinet sides. Sedge walks us through the best way to setup the Domino Joiner for some of the best butt joints he’s ever seen! Learn more about this joint and using the Domino to create a butt joint in the video below.

Domino Joint Number 4: Domino in the Middle
This can be one of those joints that a lot of people try to over complicate. Sedge helps us keep the process simple and your joints accurate. In this demo, Sedge shows start to finish the process of setting a shelf in the middle of your material.

Not sure how to best use the Festool Domino joiner for your project, here’s a quick overview of the top 4 joints you can make with the Festool Domino joiner.
Dominos vs. Dominos?
The content below will be helpful for selecting the right Domino tenon, Domino tenon placement, as well as some Domino maintenance tips. Not sure where to start? Sedge walks you through the process, so you can have a better understanding of the Domino joiner.
Here are some helpful maintenance tips from Sedge for the Festool Domino Joiner.
Having the right Domino tenon for the project and material you’re working with is essential to effectively use the Festool Domino joiner in your shop.
Maintenance Products

Pro Gold 2000 Shop Lube

Pozidriv Screwdriver PZ #2 by Wera

Pica-Dry Automatic Pencil